
How to Build a Lightweight Web Server with Python for Beginners

Web Server with Python
How to Build a Lightweight Web Server with Python for Beginners-Python is an incredibly versatile programming language, used for everything from data analysis to machine learning. One of its greatest strengths is its simplicity, which makes it an excellent choice for beginners looking to explore web development. In this guide, we’ll walk you through the process of creating a lightweight web server with Python that is easy to set up and understand. Whether you’re just starting with Python or looking to expand your programming skills, this tutorial is designed to help you grasp the basics of web servers and HTTP requests.
What is a Web Server and Why Use Python?
A web server is a software application that handles HTTP requests from clients (usually web browsers) and serves HTTP responses. It’s a crucial part of the infrastructure that powers websites and web applications. When you visit a website, your browser sends a request to a web server, which then responds with the data that forms the web page you’re viewing.
Python is a fantastic language for building web servers due to its simplicity and rich ecosystem of libraries. You don’t need to be an expert to create a web server with Python—the process can be straightforward, especially when leveraging Python’s built-in libraries.
Setting Up Your Environment for Building a Web Server with Python
Before diving into the code, make sure you have Python installed on your system. Most modern systems come with Python pre-installed, but if you don’t have it yet, you can download the latest version from the official Python website. You’ll also want a text editor or Integrated Development Environment (IDE) to write your Python scripts. Popular choices include Visual Studio Code, PyCharm, or even simple text editors like Sublime Text.
For this tutorial, we’ll use Python’s built-in http.server module, which makes setting up a web server with Python incredibly easy. There’s no need to install any additional packages for this basic example.
Step-by-Step Guide to Creating a Simple Web Server with Python
1. Create a Basic Web Server with Python
The first thing we need to do is set up a basic web server. Python’s http.server module provides a simple way to create a server that can handle HTTP requests. Follow these steps to create your first web server with Python:
- Open your text editor and create a new Python file (e.g.,
simple_server.py). - In the file, add the following code:
import http.server
import socketserver

PORT = 8000

Handler = http.server.SimpleHTTPRequestHandler

with socketserver.TCPServer(("", PORT), Handler) as httpd:
    print(f"Serving at port {PORT}")
    httpd.serve_forever()
2. Understanding the Code
Let’s break down the code above:
http.server.SimpleHTTPRequestHandler: This is the built-in request handler that serves files from the current directory. When a user accesses the server, it sends back a simple HTML response or static files.socketserver.TCPServer: This is used to bind the server to a specific port (in this case, port 8000) and handle incoming connections.httpd.serve_forever(): This line keeps the server running, allowing it to continuously serve incoming HTTP requests. (Read More: Top 5 Websites Like Janitor AI for Virtual Assistance in 2025)
Once you run this script, your web server with Python will be up and running!
3. Run the Web Server
To run the server, simply navigate to the folder where your simple_server.py file is located using your terminal or command prompt. Then, run the following command:
python simple_server.py
Once executed, the server will start, and you’ll see the message “Serving at port 8000.” Open your web browser and visit http://localhost:8000. You should see a listing of files in the current directory. This is the default behavior of Python’s SimpleHTTPRequestHandler.
Enhancing Your Web Server with Python: Customizing the Response

While the default behavior of the web server with Python is simple and functional, you might want to customize the responses to create a more dynamic experience for your users. You can do this by modifying the request handler to serve custom content or handle different types of HTTP methods.
1. Creating a Custom Request Handler
To create a custom request handler, subclass the SimpleHTTPRequestHandler class and override its methods. Here’s an example of how to return a custom HTML page when a user accesses the root URL:
import http.server
import socketserver

class MyHandler(http.server.BaseHTTPRequestHandler):
    def do_GET(self):
        self.send_response(200)
        self.send_header("Content-type", "text/html")
        self.end_headers()
        self.wfile.write(b"<html><body><h1>Welcome to My Custom Web Server</h1></body></html>")

PORT = 8000

with socketserver.TCPServer(("", PORT), MyHandler) as httpd:
    print(f"Serving custom content at port {PORT}")
    httpd.serve_forever()
2. Understanding the Custom Handler Code
self.send_response(200): Sends a status code of 200, indicating that the request was successful.self.send_header("Content-type", "text/html"): Sets the content type for the response as HTML.self.wfile.write(): Writes the custom HTML content that will be sent to the client.
After running this code, visiting http://localhost:8000 will display the message “Welcome to My Custom Web Server” instead of a directory listing. (Read More: Mastering Web Hosting Using AWS: A Comprehensive Guide)
Handling Post Requests in Your Web Server with Python
While GET requests are the most common type of HTTP request, you may want to handle POST requests as well. This is useful if you’re building a simple form that users can submit. To handle POST requests, override the do_POST method in your custom request handler.
Here’s an example of how to handle POST requests:
import http.server
import socketserver
import cgi

class MyHandler(http.server.BaseHTTPRequestHandler):
    def do_POST(self):
        # Get the data from the POST request
        form_data = cgi.FieldStorage(fp=self.rfile, headers=self.headers, environ={'REQUEST_METHOD': 'POST'})

        # Respond with the submitted data
        self.send_response(200)
        self.send_header("Content-type", "text/html")
        self.end_headers()
        self.wfile.write(f"<html><body><h1>Received POST request: {form_data.getvalue('name')}</h1></body></html>".encode())

PORT = 8000

with socketserver.TCPServer(("", PORT), MyHandler) as httpd:
    print(f"Serving custom POST handler at port {PORT}")
    httpd.serve_forever()
In this example, the server expects a POST request with a field called name and displays the submitted data in the response. (Read More: Maximizing SEO with the Right Website Builder in 2024)
Testing Your Web Server with Python Locally
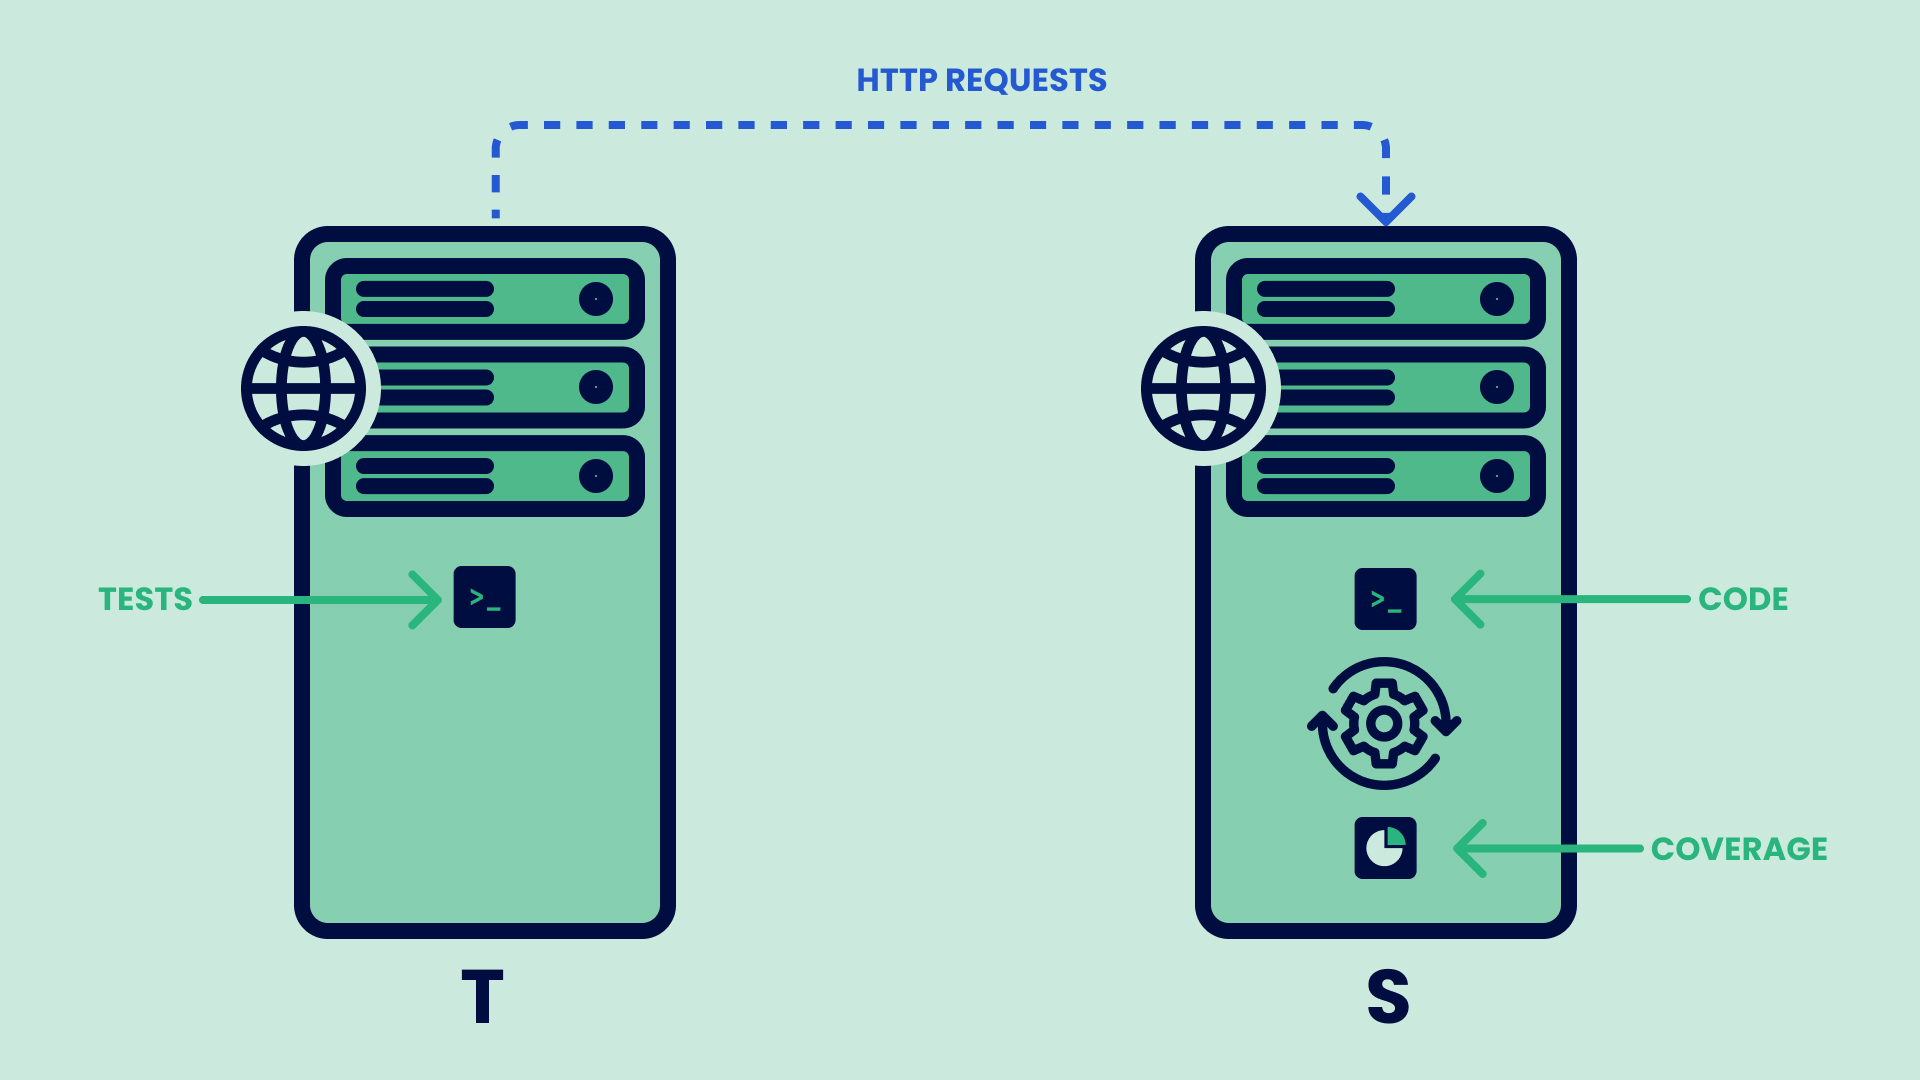
Once your web server with Python is set up and running, you can test it locally using different methods. You can use your browser to view the responses, or you can use tools like curl or Postman to send HTTP requests and see how your server responds.
Testing locally helps you identify and debug any issues with your server before deploying it to a production environment.
Extending Your Web Server with Python
While this tutorial covers the basics of building a web server with Python, you can extend your server’s capabilities by adding more complex features. Some possible extensions include:
- Adding support for different HTTP methods (PUT, DELETE, etc.).
- Serving dynamic content from templates using Python libraries like
Jinja2. - Implementing authentication and security features.
- Handling static files like images, CSS, and JavaScript.
Python’s flexibility and extensive library support allow you to build robust and scalable web servers. As you continue to experiment, you’ll learn more advanced techniques to create professional-grade applications.
Creating a web server with Python is a great way to understand how web applications work behind the scenes. By starting with a simple server, you’ve laid the foundation for exploring more complex web development topics in the future. Happy coding!


