
Step-by-Step Guide to Deploying a Secure Web Server Amazon AWS

Web Server Amazon AWS
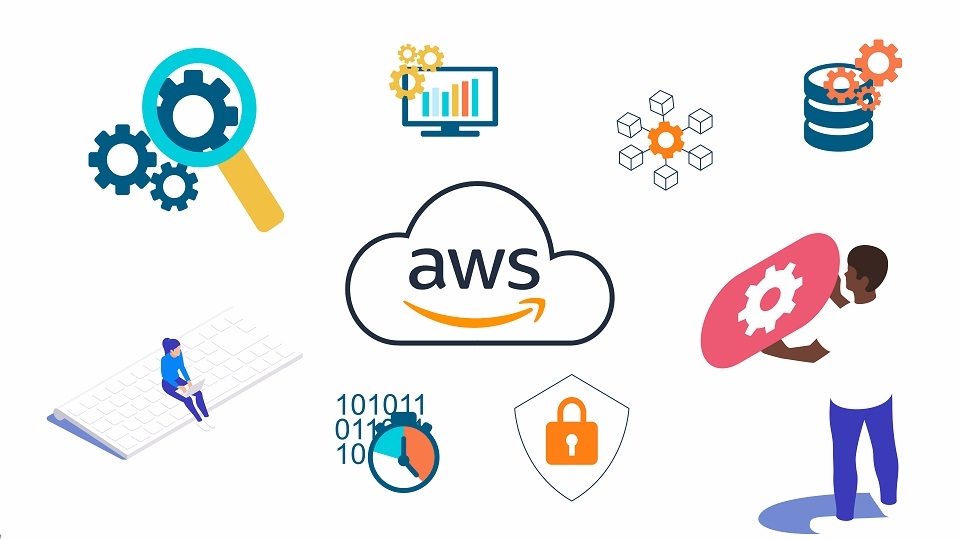
Step-by-Step Guide to Deploying a Secure Web Server Amazon AWS-Deploying a secure Web Server Amazon AWS environment doesn’t need to be intimidating. With this step-by-step guide, you’ll learn how to set up your server from scratch, lock it down with best practices, and confidently go live. Whether you’re launching a small business website, a portfolio, or a full-stack web app, AWS offers flexibility, scalability, and powerful tools for reliable performance and strong security.
Web Server Amazon AWS: Setting Up an AWS Account
To get started, head over to aws.amazon.com and sign up for a free account if you haven’t already. Once logged in, access the AWS Management Console. From there, you’ll be able to launch services like EC2, S3, Route 53, and more—all essential parts of running a secure Web Server Amazon AWS setup.
Web Server Amazon AWS: Launching an EC2 Instance

EC2 (Elastic Compute Cloud) is at the heart of your web server. Navigate to the EC2 dashboard and choose “Launch Instance.” Select an Amazon Machine Image (AMI), such as Ubuntu Server 22.04 LTS. Pick an instance type—t2.micro is a good free-tier option. Configure your instance details, then add storage if needed. When setting up the security group, allow HTTP (port 80), HTTPS (port 443), and SSH (port 22) only from trusted IP addresses.
Web Server Amazon AWS: Setting Up a Key Pair
To securely connect to your EC2 instance via SSH, you’ll need a key pair. AWS allows you to generate a new key pair when launching an instance. Download the private key file (.pem) and store it safely—this is your only way to access the server. Once your instance is running, connect via terminal using:
ssh -i /path/to/your-key.pem ubuntu@your-ec2-public-ip
This step secures your login by eliminating the need for password-based authentication. (Read More: Step-by-Step Guide: Web Hosting Using AWS with EC2 Instances)
Web Server Amazon AWS: Installing a Web Server
Once logged into your EC2 instance, you’ll need to install a web server like Apache or Nginx. To install Nginx on Ubuntu, run:
sudo apt update
sudo apt install nginx -y
After installation, enable and start the service:
sudo systemctl enable nginx
sudo systemctl start nginx
Verify that Nginx is running by visiting your instance’s public IP in your web browser.
Web Server Amazon AWS: Configuring a Custom Domain
Using a custom domain enhances professionalism and trust. You can purchase a domain via Route 53 or use another provider. In the EC2 dashboard, allocate an Elastic IP and associate it with your instance. Then update your domain’s DNS records to point to this IP. Make sure to test propagation using DNS lookup tools. Route 53 also lets you manage subdomains and health checks for improved performance. (Read More: Top 7 Benefits of Hosting Your Web Server Amazon AWS)
Web Server Amazon AWS: Enabling SSL/TLS with Let’s Encrypt
Securing your Web Server Amazon AWS with SSL is a must. Let’s Encrypt offers free SSL certificates. First, install Certbot on your instance:
sudo apt install certbot python3-certbot-nginx -y
Run the following to automatically obtain and configure your certificate:
sudo certbot --nginx
Certbot will ask for your domain name and email, and it will handle everything from certificate generation to configuring Nginx. Don’t forget to enable auto-renewal:
echo "0 12 * * * root certbot renew --quiet" | sudo tee -a /etc/crontab
Web Server Amazon AWS: Creating a Firewall with UFW
AWS security groups are great, but adding another layer with UFW (Uncomplicated Firewall) helps lock down your instance. Install and configure UFW with:
sudo apt install ufw -y
sudo ufw allow OpenSSH
sudo ufw allow 'Nginx Full'
sudo ufw enable
This restricts traffic to only allowed ports and enhances your Web Server Amazon AWS security posture.
Web Server Amazon AWS: Setting Up Auto Backups
Regular backups are essential. AWS provides multiple backup solutions. You can create EBS snapshots manually or set up Amazon Data Lifecycle Manager to automate backups. Alternatively, use AWS Backup to centralize backup management across services. Make sure to test restoration procedures occasionally to ensure data reliability. (Read More: How to Set Up a Scalable Web Server Amazon AWS in 2025)
Web Server Amazon AWS: Monitoring and Logging
Stay ahead of issues by enabling monitoring and logging features. Use Amazon CloudWatch to track metrics like CPU usage, memory, and disk activity. Set up alerts for unexpected spikes. Additionally, enable access logs for Nginx and configure CloudWatch Agent to forward logs to your AWS account for centralized analysis.
Web Server Amazon AWS: Keeping Your Server Updated
Finally, keep your system up to date to protect against vulnerabilities. Run regular updates on your instance:
sudo apt update && sudo apt upgrade -y
You can also automate patch management with AWS Systems Manager Patch Manager. Enabling automatic updates minimizes risks and keeps your Web Server Amazon AWS secure and efficient.


